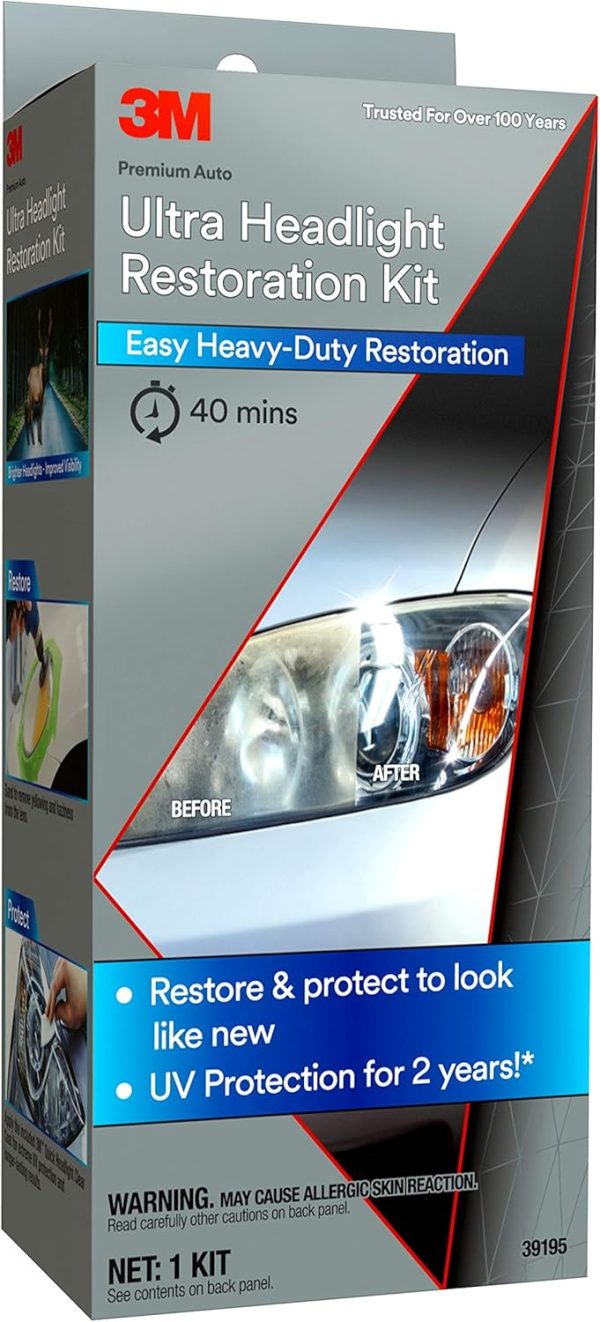
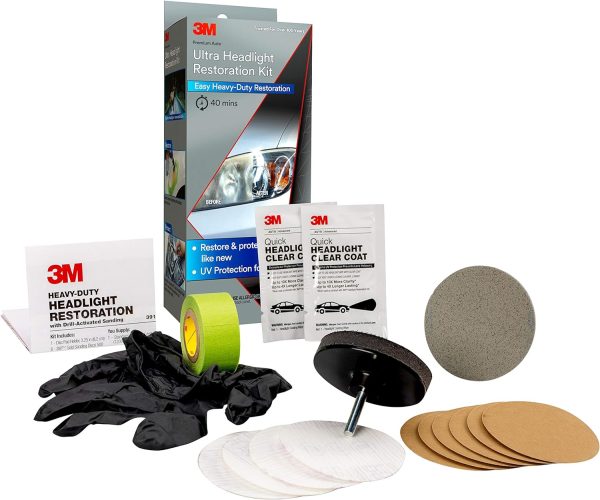
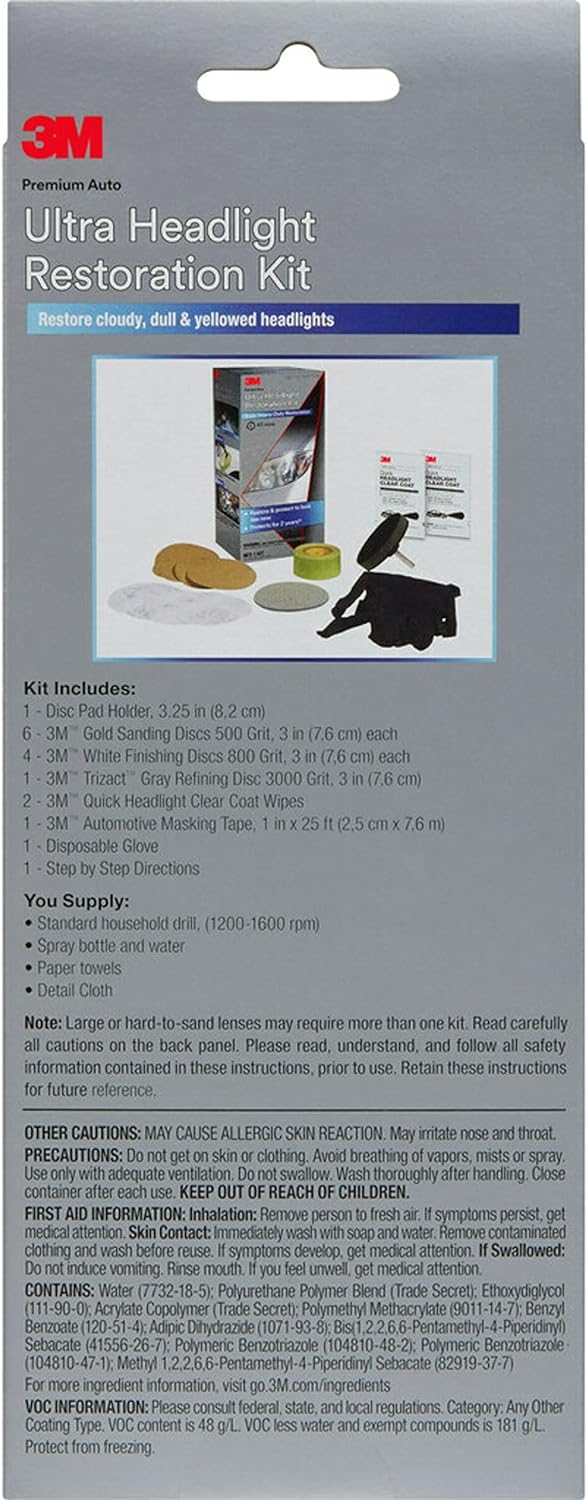
3M Ultra Headlight Restoration Kit, Contains Masking Tape, Light Sanding Discs, Wax Protectant and More, Use on Plastic Lenses Headlights, Taillights and More, Easy Heavy-Duty Restoration (39195)
4.89 out of 5
$15.82
SKU: B08745K56G
Category: Automotive
- Description
- Additional information
- Reviews (10)
Description
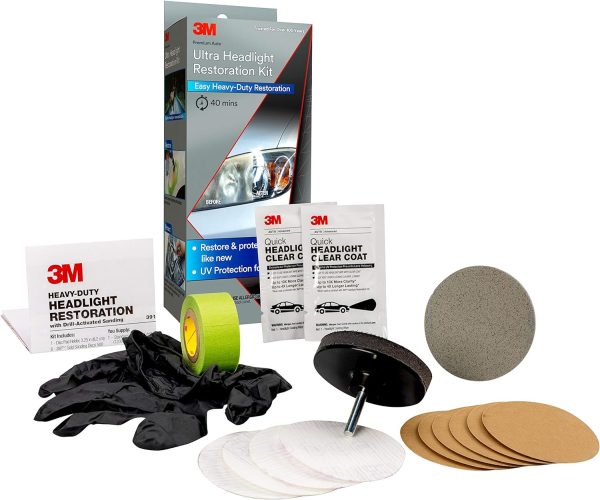
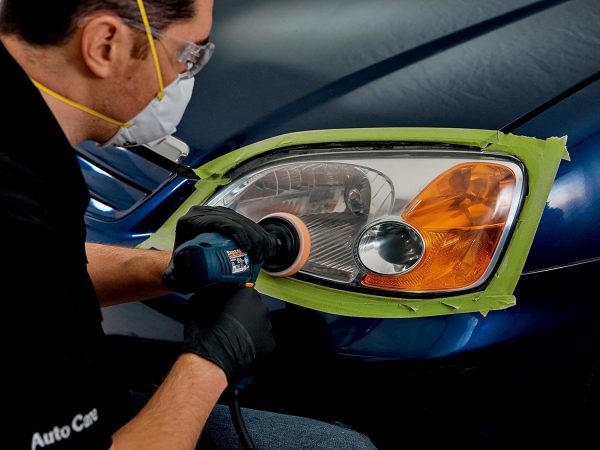
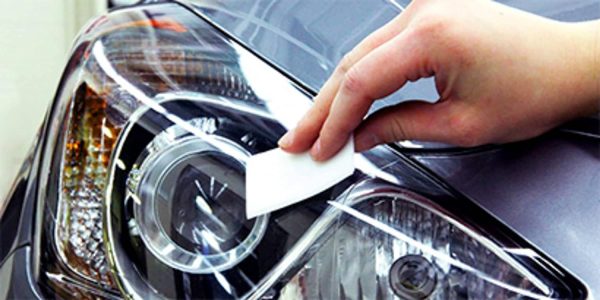
3M Headlight Lens Restoration Kit is a collection of professional-grade products assembled specifically for removing the cloudy, yellowed haze that builds up on automotive headlight lenses. Kits use a system of light abrasives to keep vehicles looking great and save money vs. replacing expensive lenses. They include complete directions, 3M Trizact sanding discs, pads, tape and polishes.
Additional information
| Asin | B08745K56G |
|---|---|
| Dimensions | 4 x 3 x 9.25 inches |
| Weight | 5.3 ounces |
| Manufacturer | 3M |







time.lord –
I recently used the 3M Ultra Headlight Restoration Kit to restore my one of car’s headlights on a 2013 NISSAN MURANO and I’m impressed with the results. The kit comes with everything you need, including sanding discs, a polishing pad, clear coat and a drill attachment. The instructions are clear and easy to follow, and the process took about 1 hour for me to complete. Photos: passenger side is one that was restored, driver side is a headlight that was recently replaced with OEM.
The kit does an excellent job of removing hazy oxidation, but to get a closer-to-OEM gloss finish, I needed to use a buffer in addition to the kit. The clear coat did not go on smoothly and left visible streaking from the applicator pad strokes. In retrospect I would skip this step and research to see if there is a better clear coat product that yields better results.
JOSHUA –
I’m not a handy guy, not by a long shot. Neither am I a car guy. I mean, I adore my car — there’s a reason I drive a 25 year old Toyota — but I’m no mechanic. Hell, I’m not even the fixit person for stuff around the house. But I figured I’d give this a shot.
So, like I said, I love my car. It’s getting old, though, and I have neither the time nor skills to crack it open and replace the headlight thing just to keep it looking sharp. I tried the old “toothpaste trick,” where you rub a bunch of toothpaste on your headlight lens to clear it up. It… kinda helped? A little bit? Not that much. I have some plastic polish for another project of mine, and considered breaking it out, but that stuff is expensive and very fussy to use. Then I heard about this kit from a “car guy” I trust, and that it works, for real.
Lo and behold, it does. You clean off the plastic, slather some goo on, and then get out a power drill. Stick these little circular buffing head things on it, and do a three-stage polishing on the lens. The instructions make it out to sound simple, and in concept it should be: goo, circle thing, drill. repeat. In practice, though, it’s a little harder than that.
It turns out “stage 1” of the process is a pretty big deal, and you have to be suuuuper careful about all the fine little details, but… well, look real close at your headlight lens. Real close. It’s not a smooth, perfect surface, actually. There are these kinda bumps? Thorns? Spikes? There’s stuff poking out of it for what I assume are manufacturing reasons of some kind. Anyway, you have to deal with the fact that as soon as your spinning wheel thing accidentally bumps into one of these, uh, bumps, it goes skittering away and across the lens.
This kinda un-smoothens the perfect smooth coating of “stage 1” goo you’re laying down. Which subtly affects the results by the time you get to “stage 3.” Plus you’re not actually getting your polishing wheel down into the corners of these bumps.
Or, the corners of the lens. Because, if you’re not careful around the corners of the lens—which they thoughtfully provide some masking tape for!—you’re gonna scratch your paint. Ask me how I know about the scratched paint thing.
But, eventually, like an hour later, you get through the whole process of both lenses, and wipe it down with the special 3M chemical wipe in the little packet, and it looks great! It worked! I mean, except for the little details you couldn’t get to, or the scratched paint, or the way your back hurts from sitting on the ground in front of your car for an hour, or…
MH –
This stuff is great. After sanding with 3000 grit, during the 2nd to last step, there was noticeable improvement. Not perfect, but noticeably better. And then the last step. Slowly apply wipe the lens with the wipe. The lens becomes clear like magic! It looked almost as good as new. I rarely post reviews, but after the last step where you wipe down the lens, I was blown away. Truly a 5 star product.
L –
This kit is fantastic! My car is a 2009 Toyota and the headlights were getting pretty foggy. I didn’t think about headlight restoration because they weren’t yellow, but my friend suggested it because I’ve been having trouble seeing at night while driving due to the lack of light. Holy cow did this make a difference! They’re easily the nicest thing on the exterior of my vehicle. lol
The whole process looks a little iffy until you put on the first bit of clear coat, but keep going!
Tips:
1. Make sure you know how to use a sander. If you feel like you’re losing control, lighten your pressure, don’t bear down on it.
2. Use a good drill with a high RPM. Not some cheap thing you bought off of Amazon or from Target. If you don’t have one, borrow one or invest.
3) You need TWO PAIRS of rubber gloves. This kit only comes with a single rubber glove. You have 15 minutes to hang out between coats. But some if you don’t have them.
Overall, I am very happy with this and would use it again if I needed to.
Jv –
It does exactly what it purports to, and does it well.
Some pointers:
– You’ll need a good drill; mine is a bit old with a cruddy battery so I had to recharge it a bunch of times to get the job done.
– The directions on the clear coat stage are pretty important; if you leave bubbles or miss a spot it will harden that way and you can’t really undo those flaws unless you want to repeat the process in those spots.
– It’s easier to control the drill if you focus pressure on the leading edge of the disc.
– Expect the process to take about an hour or so, assuming your drill can exert a good charge consistently over that period of time (or if it’s a corded drill)
Anyway, this should be exactly what you’re looking for at a pretty good price!
Zsombor V. –
Kit worked well to finish what a “heated cup” kit messed up on a 2015 Traverse.
The first photo are the results from the heated cup kit. For those results I hand sanded quite a bit and the results were trash.
With this kit you need some time, these results took several hours of work.
You have to sand slow, don’t get it too hot. Be mindful of how many sandpapers you have for each light.
A little hand sanding after each type of pad really helps so save one of each type of pad a little for following up on tight spots and gentle hand sanding after each phase with the drill. Yellow pad, white pad, and the Trizact pad, once the drill phase on each is done clean the headlight or blow it off with a duster and do a light hand sand session. Use a lightly damp paper towel folded up to help hold the pad. Then finish off each pad with the lightest passes first up and down and then left to right. This is for all 3 types of pads.
BIG TIP: Use 91 percent rubbing alcohol between steps to see a preview.. After each type of sanding is done (yellow, white and Trizact) Dust off or wipe area clean (Trizact is wet) and then clean it off with lots of 91% rubbing alcohol and look for:
Yellow pad: Uniform drying and frost. If the frost has some spots that look off go over that area again.
When alcohol dries as it dries it will show you where areas are not done, they look off.
White pad: Look for the frost to get lighter all over and check for scratch marks from step one.
Sand using white pad with drill and by hand gently to get the yellow pad sanding marks out.
Trizact: Look for fine scratches white and use the Trizact pad with drill and by hand to get the finest
sanding marks out. Light hand pressure at the end, very light.. lost of water.
At the end I dumped alcohol on there to clean it well and see a preview of the finish, let it dry off completely and frost out and finished off with the sealer per instructions.
I am very happy with results.
Ammon –
Took all the scratches out of my headlight on my motorcycle. Super easy to use and the results were better than I was expecting. Headlight looks brand new which saved me a few hundred dollars for a replacement.
Cathy –
First of all, I left only 3 stars for longevity only because it will take time to determine durability. Otherwise, this was a simple, inexpensive way to get my headlight 95% close to new. The directions are clear, just sand your headlight lens with successively finer grit sandpapers (starting with 500, then 800, then 1500 then finally 3000) then apply a UV protectant/clarifying solution. It took me about one hour to do one headlight. Throughout the process, you will think: “this is destroying the headlight lens, I know I’ll be in the market for a replacement lens when I’m done 🙁 “
But NO!…stick with it…Trust the process! …After the final sanding, you use a wet nap type to apply a solution that magically makes the sanded and cloudy lens bright and clear. Amazing!
However, the few things I would point out in finer detail for the novice like me: if your headlight is really cloudy and yellow to begin, spend more time on the 500 & 800 grit steps to really get the yellow out. You dont have to push hard on the sanding disc; just let the rotating drill do the work. Second, really do a good job with the masking tape so you don’t scratch your car’s paint or trim, especially if you are using a power drill. The included tape 3M gives you is good, but its only an inch wide, so I added blue painter’s tape to widen the protected area on the bumper/hood adjacent to the light, You *will* miss and hit the tape if you are using a drill, so wider protection is essential. Third, if you have a weirdly shaped headlight with lots of angles, it’ll take more time and be harder to get a more consistent sanding. The drill actually made this harder. It would have been nice for 3M to offer some small sheets of the various sandpapers so you could do those areas by hand without needing a drill. Fourth, and this is the big one…be more careful on the last step (applying the solution). Follow the directions exactly, don’t go backafter a couple of minutes with the wet nap to try to touch up spots that you think didn’t get enough coating. Just like painting: thin coat, wait for it to dry, then do a second coat..It works much better than doing too heavy for the first coat. Just take it slow and apply the clarifying smoothly and evenly and the lens should come out fantastic. Also, do all your sanding on both lights then apply the clarifying solution to both of the sanded lenses at the same time. There is enough to do two coats to two lenses, but if you wind up doing a second headlamp more than a few minutes later, the wet nap clarifying solution tends to dry out.
I only did one headlamp because the car’s other one was recently replaced following an encounter with a deer so didn’t need any reconditioning yet…or so I thought…Now, since the first one came out so well, it looks better than the 5 year old lens that was replaced so I might do that one too.
Very happy with the kit. It works. I’m a tough reviewer, but its 4.5 or 5 star for sure. And if you don’t think you can do this, you are wrong. You can.
Dale Reid –
This is not the first time I’ve used this product. It somehow seems to be better than some of even the other brand named products meant to do this type of work.
The last one I had done on an older Subaru Outback, and the difference I saw was as good as the ads suggest. As far as I know, having sold the car, the headline clarity is still present.
One of the important parts is to tape off the surrounding area of the lens. No matter how wonderful you think your strength and control is, one jump of the sander and a lot of avoidable damage to the surrounding paint can be avoided. Also, take your time, and do the last parts, especially coating with the sealer, out of the sun and pollen and blowing dirt. Follow the directions, don’t hurry, especially the second coating, and you’ll be as amazed as I was how well this whole package works.
Nathaniel G Riek –
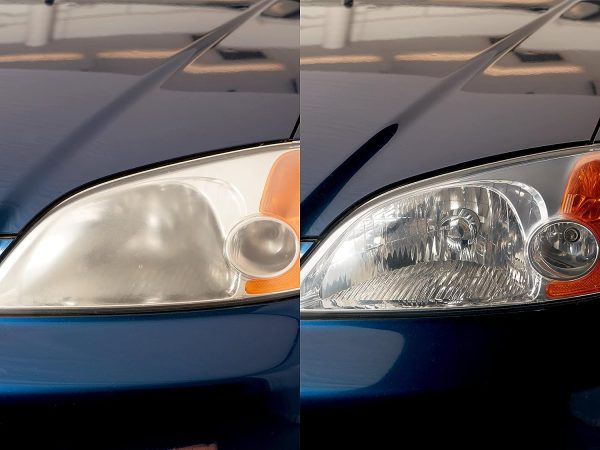
Was very surprised how well this turned out. First photo are my headlights before any sanding – I was debating replacing them entirely, but glad I tried this kit… saved me $600+.